How To
How to Foil a JPEG Image with Brother Scan n Cut Machine Using the Foil Quill
Aug
quill*CM900 model used.
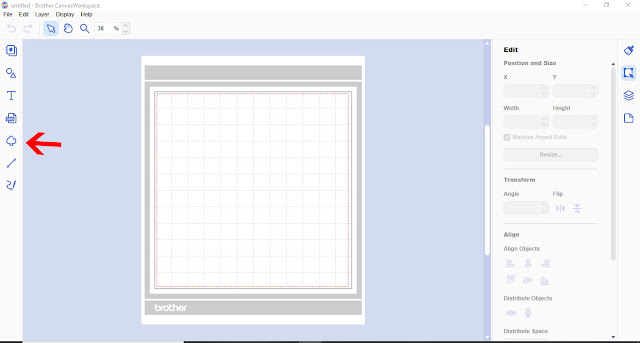
1- Turn on Canvas workspace. look for the trace icon.
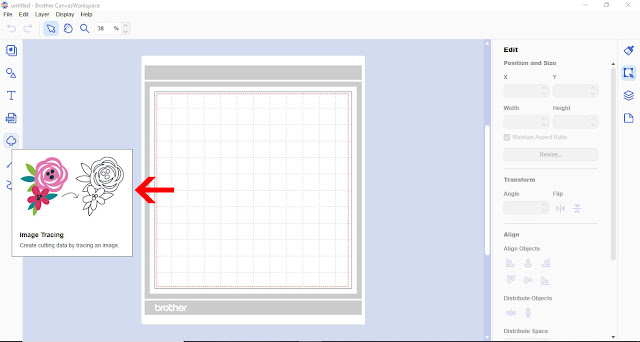
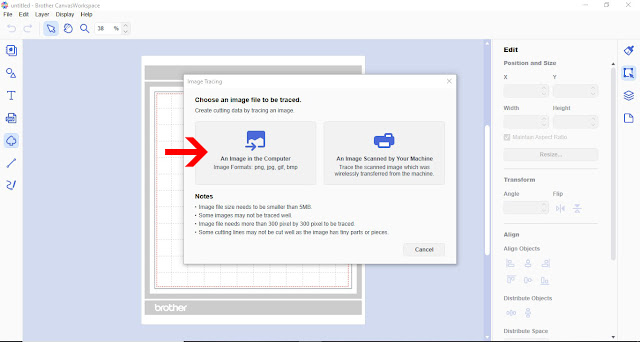
2- As you select the icon a image trace info image will pop up.
3- A pop up window will appear. Click on the option you will be using to get your Jpeg image. I will be using a Jpeg from my PC.
4- Find your image and select it.

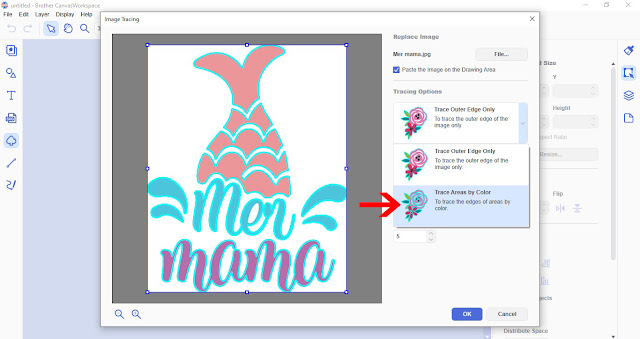
5- A new window will appear with your Jpeg in it. You have the option to trace the outline or trace by color. With colored images it is good to trace by color.
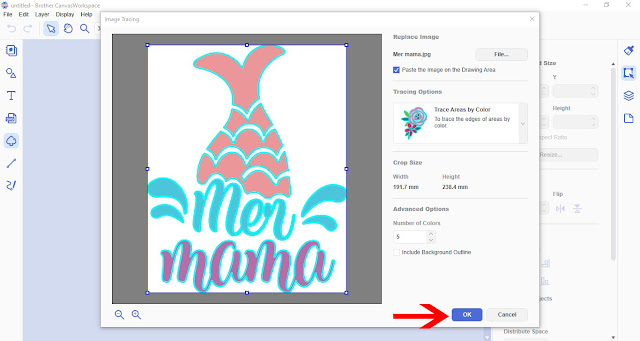
6- Adjust the number of colors to ensure that all of your design is traced. Click OK when you are happy with the trace.
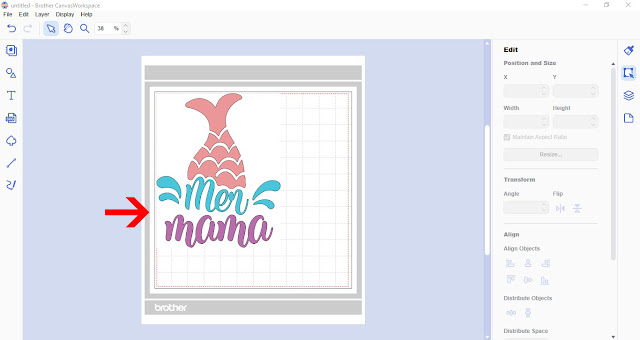
7- Your traced Jpeg will appear in your workspace.
8- Right click and ungroup.
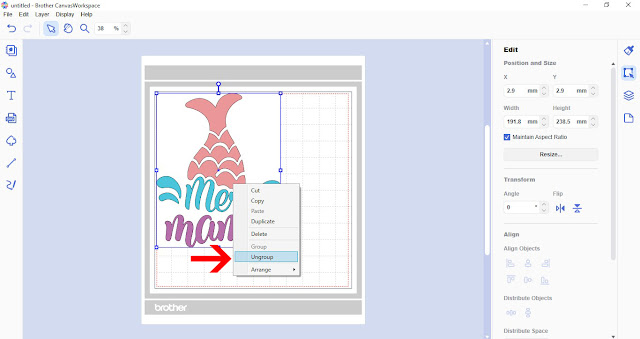
9- All the cut lines will ungroup.
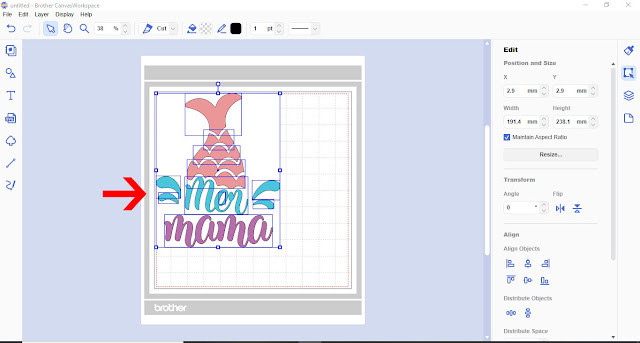
10- With all the lines selected, click and drag off the original Jpeg.
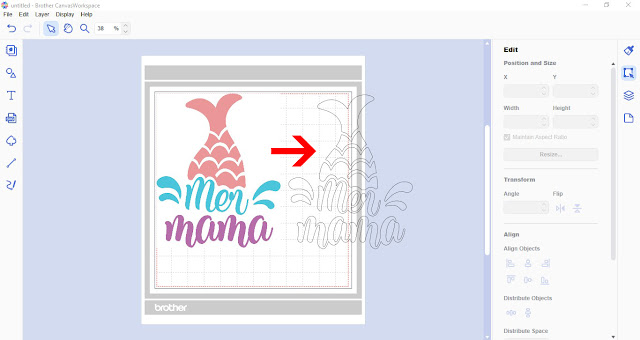
11- Delete the original Jpeg as you now have the cut lines. If you want to print and cut you cab fill the color in at a later point using the fill tool. Select all then right click to group.
12- Click on file and the transfer to your scan and cut machine via wireless. If you do not have the wireless function transfer via USB or cord.
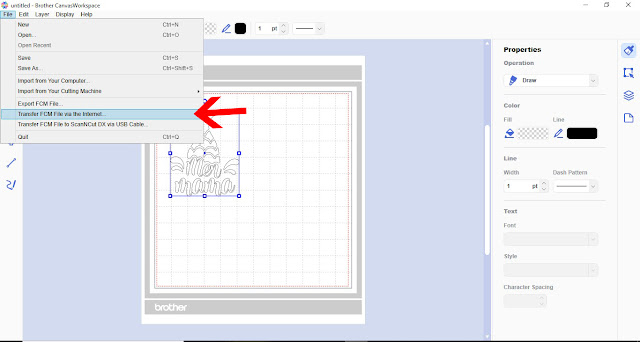
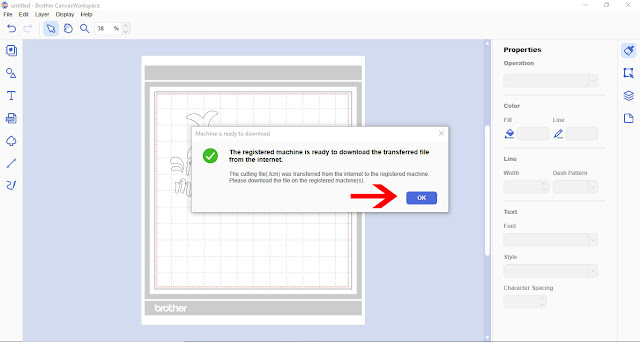
13- A new window will appear to let you know when the file has transferred.
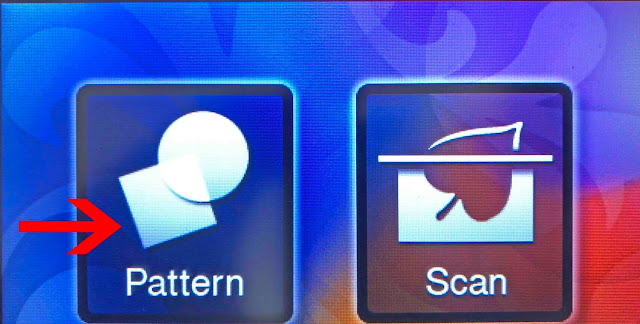
14- Click the pattern icon on the machines screen.
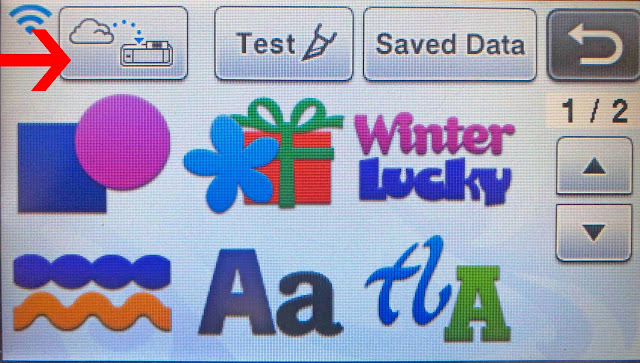
15- Click on the transfer icon.
16- Your design will appear on your screen. Click on the scan icon.
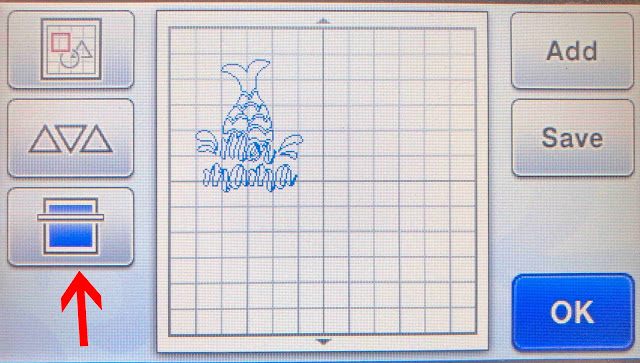
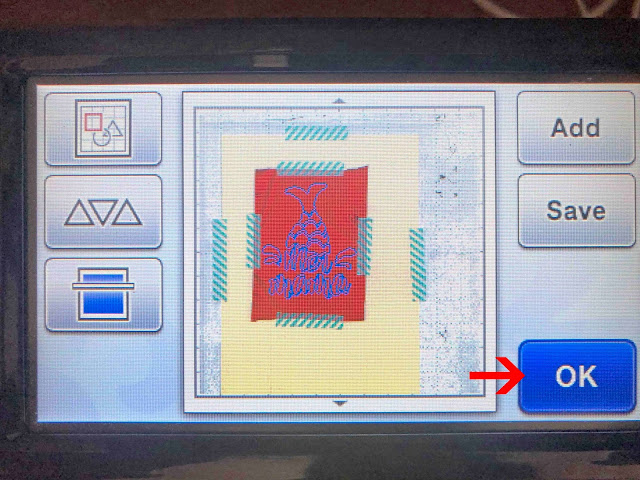
17- Once scanned you can re position the design over your media. Click OK.
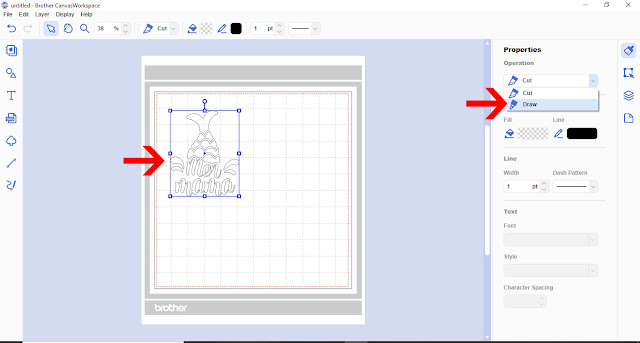
18- Next click on the draw icon. I use the setting speed 3 and pressure 0 for cardstock.

19- With your quill preheated, press the start button. Your machine will start to foil.
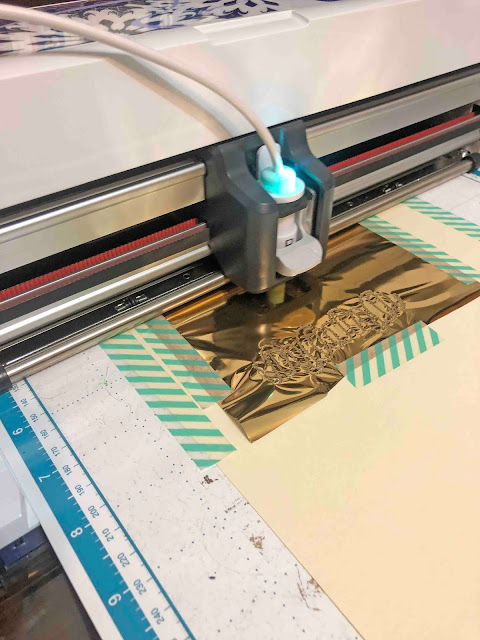
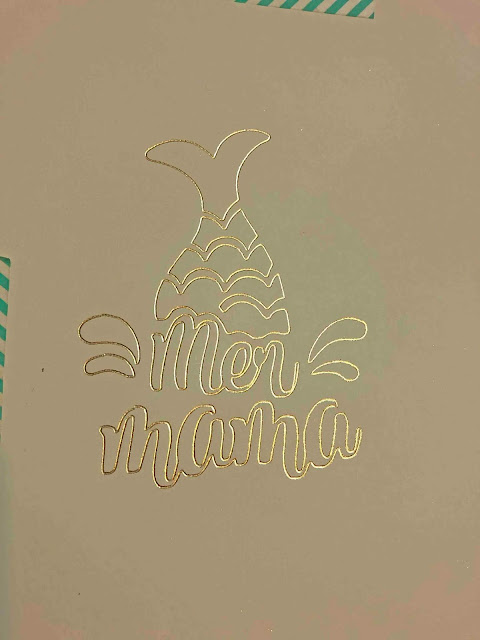
20- The design will now be completed.