How To
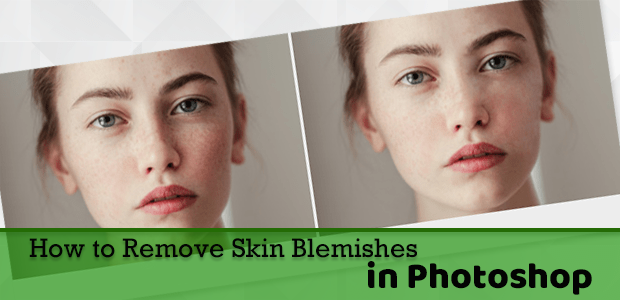
How to Remove Skin Blemishes in Photoshop
In this comprehensive article, we’ll walk you through the process of removing skin blemishes, scars, or acne from your portraits using Photoshop. Whether you’re a photographer editing client photos or simply want to enhance your own portraits, this tutorial will equip you with the skills to achieve flawless and natural-looking results.
Follow our step-by-step instructions to learn the techniques and tools in Photoshop that can effectively remove skin blemishes, ensuring your subjects look their best in every portrait. Say goodbye to unwanted beauty spots or imperfections, and hello to beautifully retouched images!
Let’s dive into the world of photo editing with Photoshop and unlock the secrets to flawless skin in your portraits. Get ready to elevate your photography game and create stunning, picture-perfect results!
Using the Spot Healing Brush Tool to Remove Blemishes in Photoshop
The Spot Healing Brush is the best tool to use when you need to remove a small, circular blemish like a pimple or mole.
To remove blemishes in your photos using Photoshop’s Spot Healing Brush Tool, you’ll first need to open your portrait in Photoshop. To do this, simply right-click your image file and select Open With Photoshop, or open the Photoshop app, then choose File » Open.
Once you’ve loaded your image into the Photoshop workspace, navigate to the left-hand toolbar. Here, we’ll select the Spot Healing Brush Tool, which is marked by a band-aid icon.

Set the hardness of your brush to 100% and check the “Sample All Layers” option.

Now, add a new transparent layer. By applying our edits to a blank layer, we ensure that we can always go back to our original image if we make a mistake. To add a new layer, go to Layer » New » Layer.

Make sure to select the transparent layer from the Layers panel at the bottom right of the Photoshop workspace. Then, simply brush over the blemishes you want to erase on the portrait using the Spot Healing Brush Tool.
This tool works the same as Photoshop’s regular Brush Tool, so it’s easy to use. Just remember to zoom in on the picture so you can really see what you’re doing.

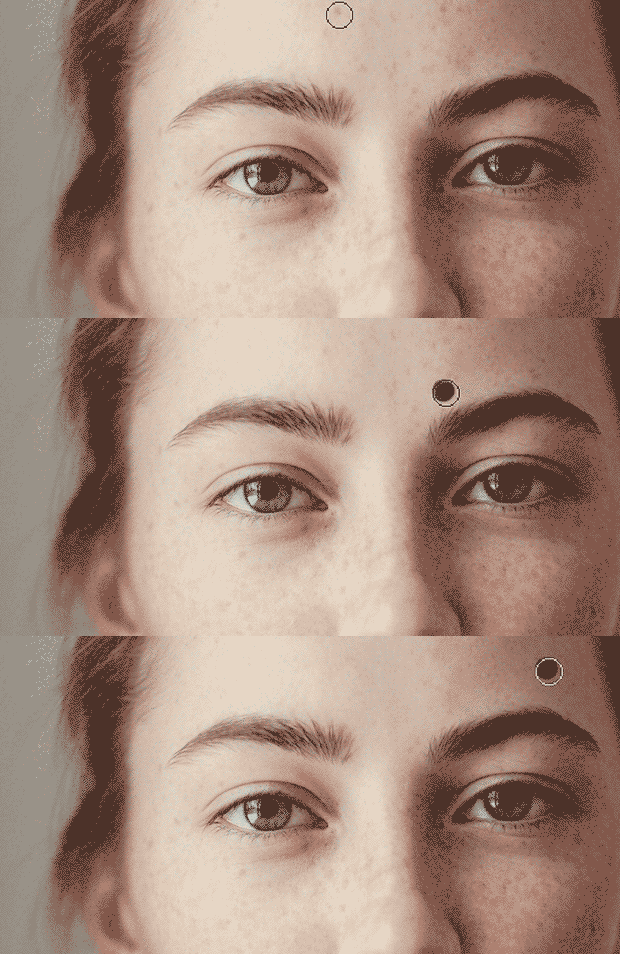
You can see here how the Spot Healing Brush removed freckles in the above photo!
Using the Healing Brush Tool to Remove Blemishes in Photoshop
If the Spot Healing Brush isn’t working the way it should, try using the Healing Brush Tool. You’ll find it under the same toolset in the left-hand toolbar.

With this tool, press Alt + Click to select a clear area of skin in your photo. The tool will use that clear portion of skin to cover the blemished area as you paint over it.
The Healing Brush Tool gives you a bit more control over how you’d like the tool to correct the blemish. Use multiple samples to create a more natural effect and retain the skin’s texture as you paint.

Using the Patch Tool to Eliminate Blemishes
If you need to remove blemishes from a larger, non-circular area, the Patch Tool can help. This tool works great on scars and birthmarks

First, press Ctrl + Alt + Shift + E to create a merged layer. This step is essential for the Patch Tool to work properly.
Then, use the Patch Tool to select the blemished area of skin in your photo. Once selected, click inside the selected area and drag your mouse outside of the area. When you do this, you will see the area fill in with a patch of the surrounding skin. When you are happy with how it looks, simply release the mouse.

That’s all. You can see the before and after of the portrait below.


