How To
How to foil and cut stickers in cricut design space

Jul
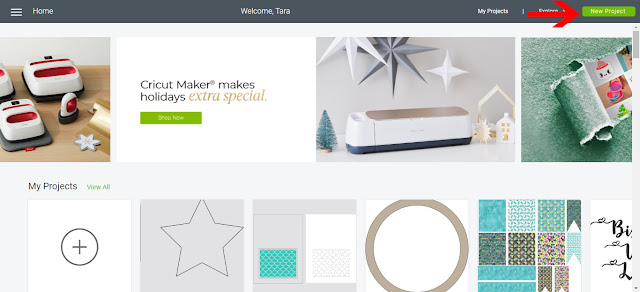
1- Open Cricut design space. Click on new project.
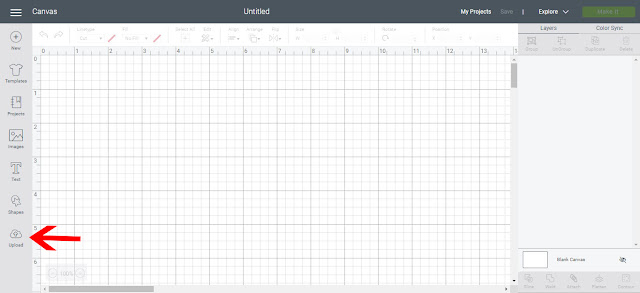
2- Click on the upload icon.
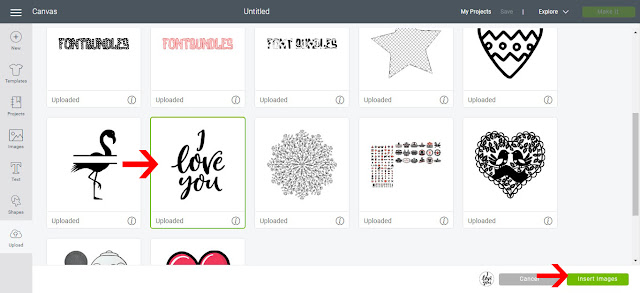
3- Select or upload the design you would like to foil on your stickers.
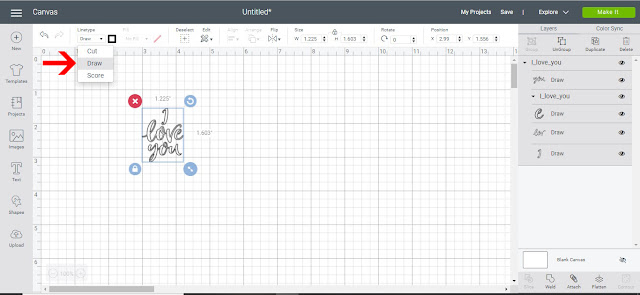
4- Change the design from cut to draw.
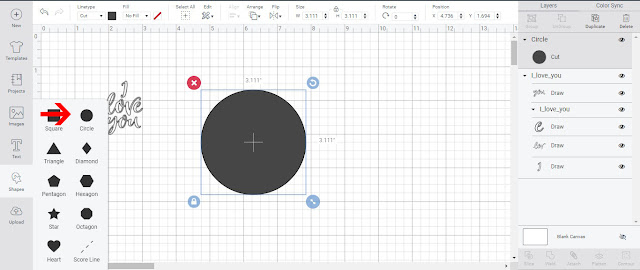
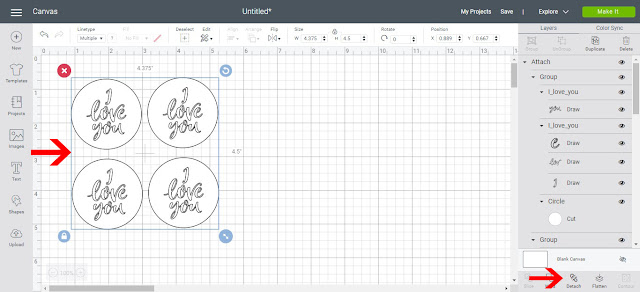
5- Click on the shape tool. Draw a shape that you want to use as the shape of your stickers.
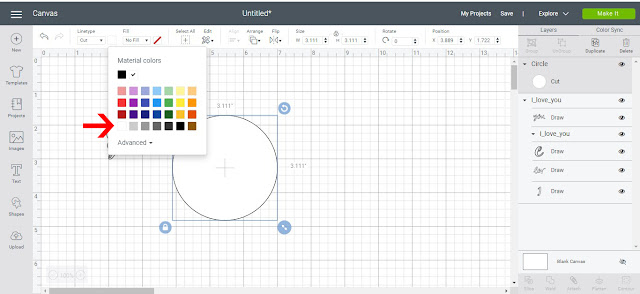
6-Change the inside fill to white.
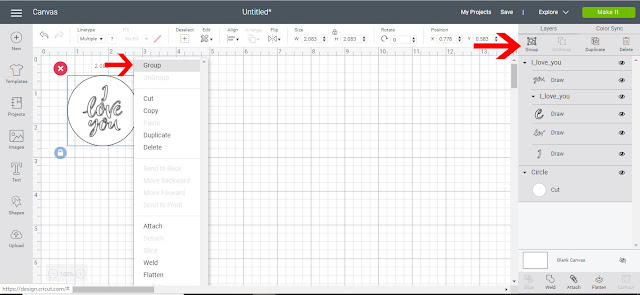
7- Place your image into the sticker shape. You can use the align tools to line it and center it.

8- Select everything and group.
9-Duplicate your stickers till you have as many as you need. Select all other the stickers and attach.
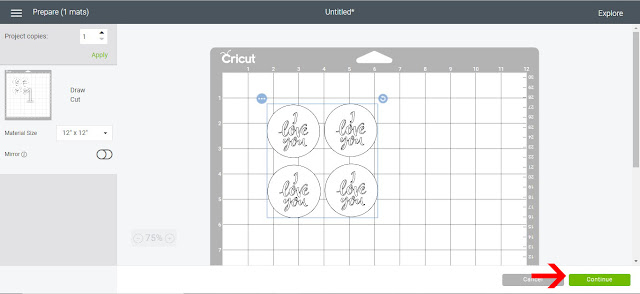
10- Click make it. Re adjust the positioning of your stickers so you can place foil over the area. Click continue.
11- Select your media.
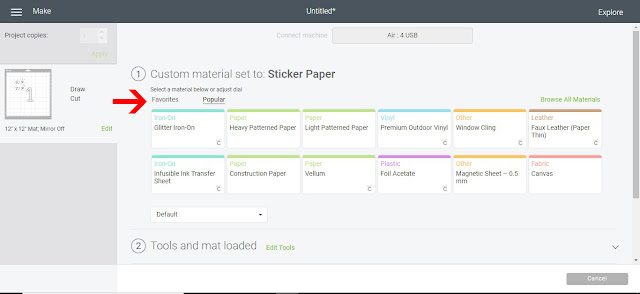
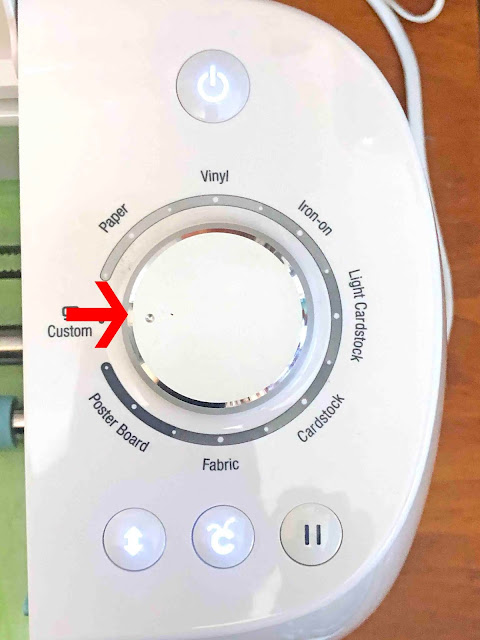
12- As we are using sticker paper you will need to set your dial to custom, then select sticker paper in the drop down menu.
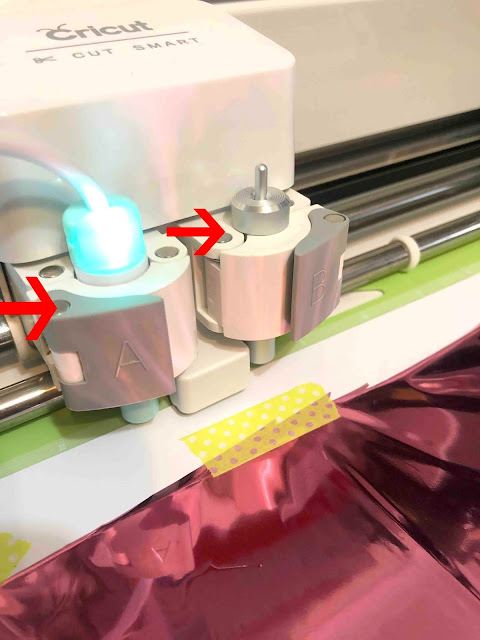
13- Make sure that the foil quill is in the A holder and the cutting blade is in the B holder.
14- Click go. Watch the machine foil your design. As the machine goes to the top of the mat(when it resets to cut mode) press the pause button.
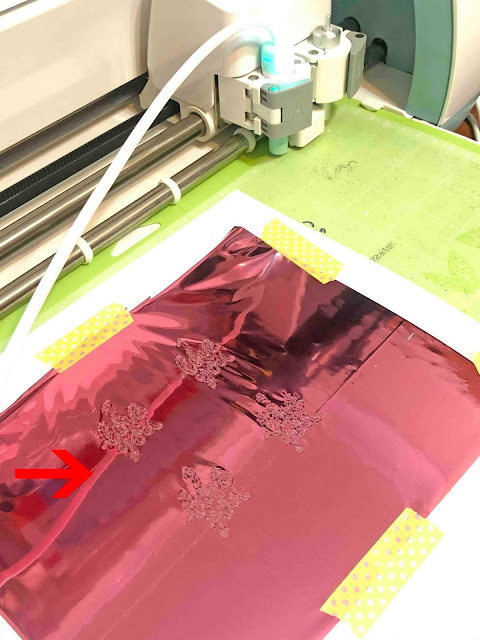
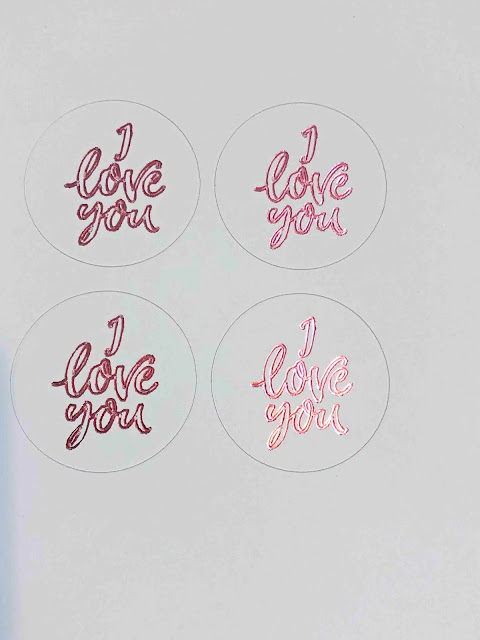
15- With the mat still in the machine, remove the foil from the sticker paper.
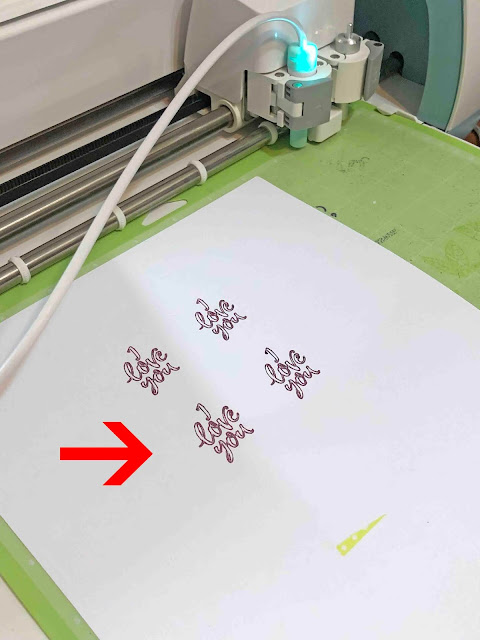
16- Remove the foil quill from holder A. Click the pause button again to let the machine cut the sticker paper.
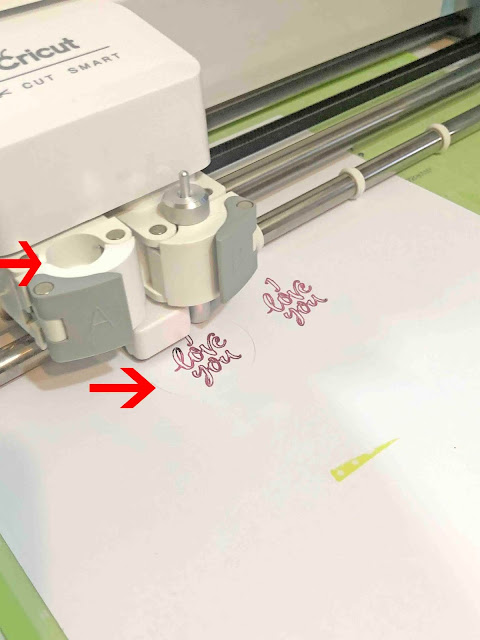
17- Your stickers will be cut for you.