How To
How to Upload SVGs to Cricut Design Space

Jul
Creating full designs in Cricut Design Space is undoubtedly amazing, but we all have those moments when time is of the essence, and we need a quick solution. That’s where pre-made designs come in handy! In this tutorial, we will guide you through the process of uploading a pre-made SVG file into Cricut Design Space. Whether you’re in a time crunch or looking to incorporate ready-made elements into your projects, this step-by-step guide will make the uploading process seamless and efficient. Let’s dive in and explore how to easily bring pre-made designs into Cricut Design Space to enhance your crafting experience!
Step 1 – Create New Project In Design Space
Once you are logged in you will be on the Cricut home page. This is where you will be able to start a new project by simply clicking on the green button that is labeled New Project on the top right-hand corner.
Step 2 – Click the Upload button
Locate your Upload icon. This is usually the last icon on the toolbar located on the left side of your canvas screen.
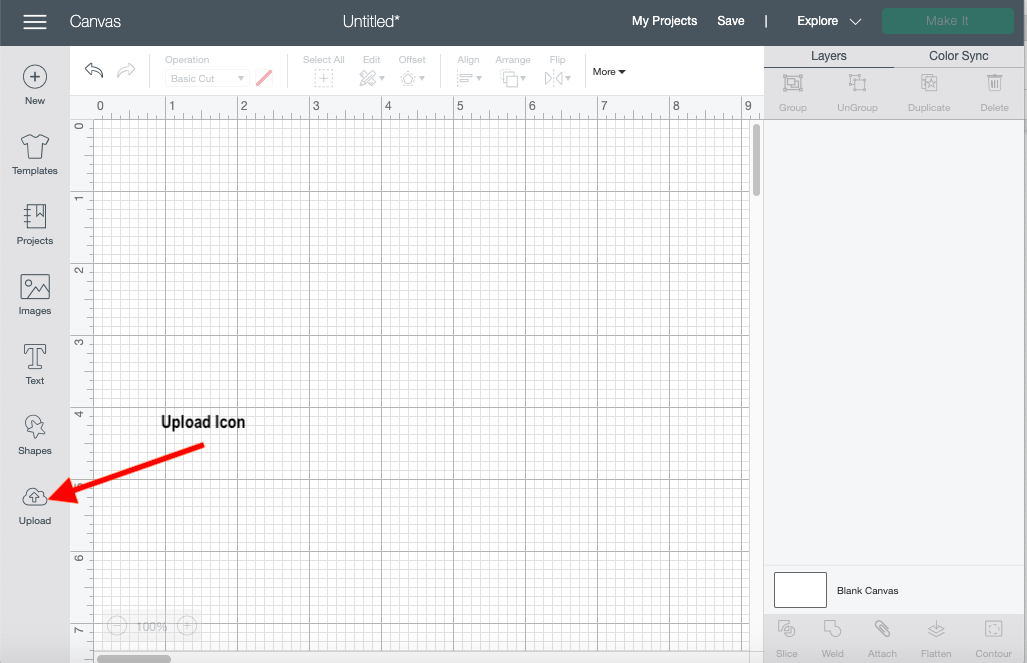
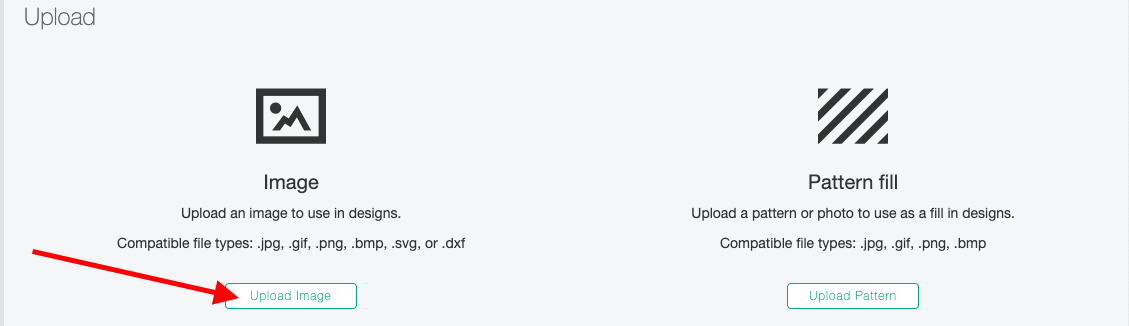
This will start your upload process and will navigate you to the next page where you will need to click on the Upload Image button.
Step 3. Locate your file
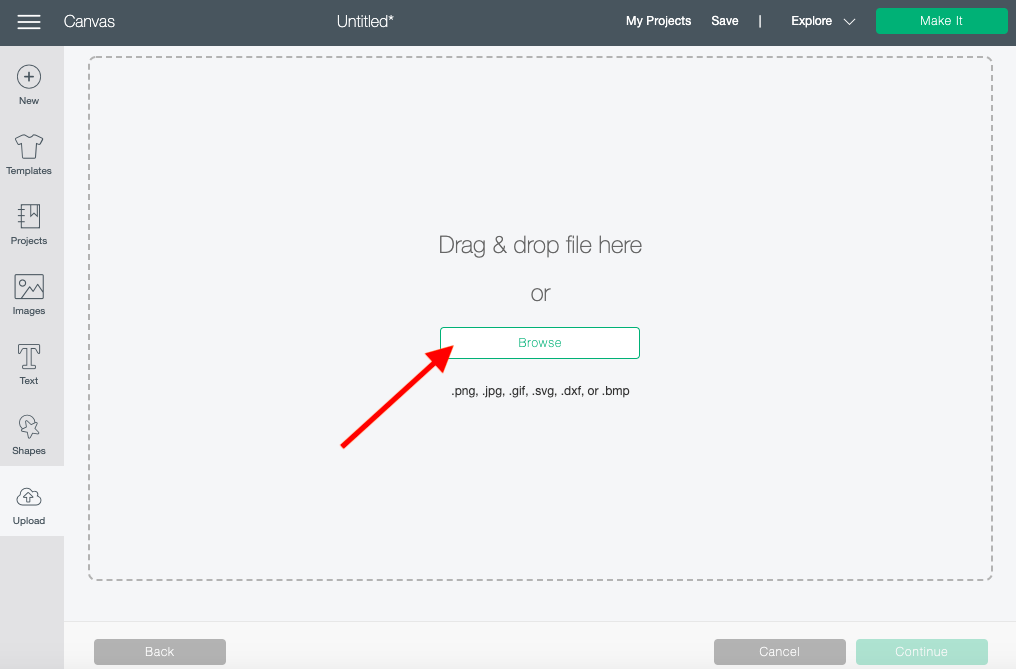
Once on the next page click on the Browse button which is located in the center of your screen. This will allow you to search through your computer for the file.
Once you locate the file you can click on the file then click Open on the lower right-hand corner. To Drag a file into Design Space simply click and hold on the selected file and drag and drop to the center of the grey rectangle box.
The last page will automatically appear and you will be able to upload your SVG. Click the beautiful green UPLOAD button on the lower right-hand corner and you are finished.
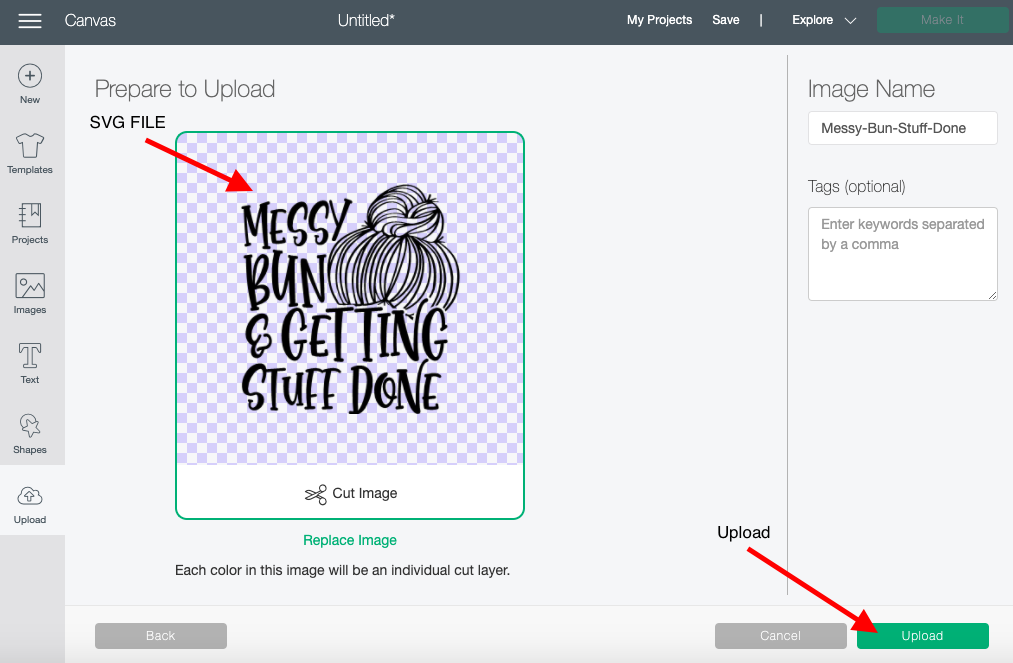
You have successfully uploaded an SVG to Cricut Design Space.