How To
How to Make a Photo B&W Except One Color in Photoshop
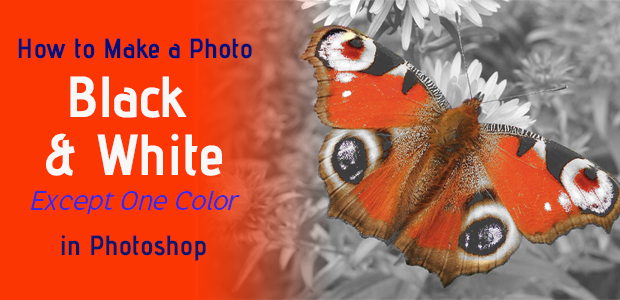
In this captivating article, we’ll unveil the art of creating a Color Splash effect in Adobe Photoshop. This technique allows you to make an image black and white while retaining the prominence of a single color, adding a dramatic and eye-catching flair to your photos.
Follow our step-by-step instructions to master the Color Splash technique and learn how to make your chosen color stand out against a muted black and white background. This creative and versatile effect can be applied to a variety of images in your gallery, elevating your photography to new heights.
Let’s dive into the world of Color Splash in Adobe Photoshop and unleash the power to create visually stunning and attention-grabbing photos. Get ready to impress with your artistic flair and mesmerizing color creations!
Making a Photo Black & White Except One Color
Once you have Photoshop installed and up-to-date, we’re ready to begin.
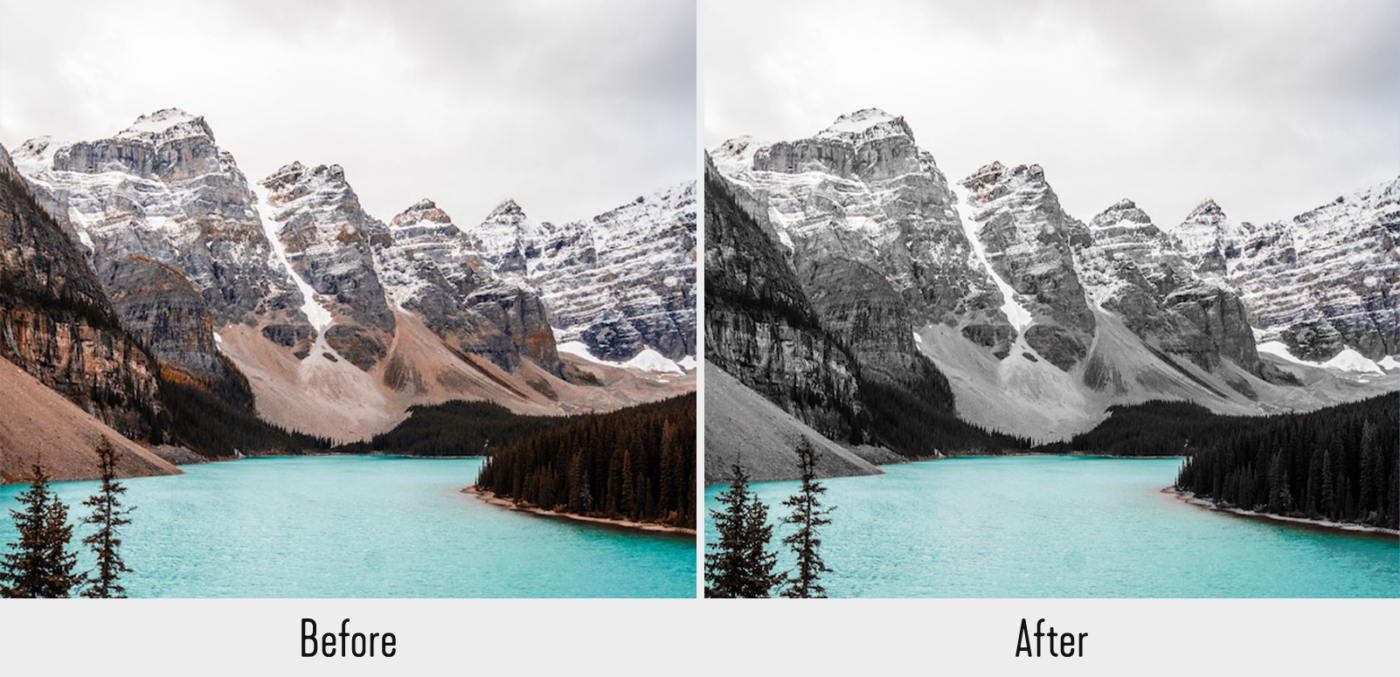
Now, import your image to Adobe Photoshop. I’ll be working with this image, courtesy of Unsplash:

Step 1: Duplicate Layer
Right click on the Background layer in the Layers panel on the right-hand side of your Photoshop screen. Then select the Duplicate Layer option.

A dialog box will appear and ask you to name your new layer. Photoshop’s default name for this layer will likely be Background copy, but I find it’s easier to rename it for organizational purposes. I’m going to call my duplicate layer, Layer 1.
Duplicating the background layer allows us to complete our edit on two separate layers. While this may sound more complicated, or like extra work at the start, you’ll see why working on two layers makes our job easier in a bit.
Step 2: Desaturate the Image
Next, select the Background layer again and press Shift + Cmd+ U on Mac or Ctrl + Shift + U on Windows to desaturate all the colors in your image.

Notice that Layer 1 sits above the Background layer in the Layers panel. To see the effects of your desaturation, click the eye icon on the left of Layer 1 in the panel. Toggling the eye icon hides and reveals that layer.
Step 3: Select Accent Color
Next, click the eye icon to make Layer 1 visible again, and select it in the Layers panel.
Then go to Select » Color Range from the top menu bar in Adobe Photoshop.

Here’s where you’ll select your accent color. For the purposes of this tutorial, I’ll choose to make my accent color blue. So, the goal at the end of this article will be to have an image that’s completely desaturated save for the blue water in the photo.
In the Color Range dialog box, choose the Eyedropper Tool with the plus sign. This tool is called “Add to Sample,” and it will help us select all of the blue tones in the photograph.

Using the Add to Sample Tool, click on the accent color in your image. Here, I’ll click on the blue water at multiple points in the image. Selecting multiple points allows me to add multiple shades of blue to the sample. The more shades I capture with the Add to Sample Tool, the more accurate my effect will be.

Once you’ve selected your accent color at multiple points in your image, select the OK button to create a selection on your photo.
Step 4: Invert Your Selection
Then press Shift + Command + U on Mac, or Ctrl + Shift + I on Windows, to inverse the selection you just made. Now, Photoshop has selected your entire image except for the color you want to preserve.
Go ahead and press the Delete button from your keyboard to remove the selected area from Layer 1. Now your photo will be B&W except for one color!

We’re able to delete the portion of the top layer to reveal the bottom desaturated layer because we used two layers to create our effect. Pretty crafty!
You can press Ctrl + D to remove the selection from the image if your marching ants still remain on screen.
Step 5: Touch Up Your Image
If the Add to Selection Tool didn’t perfectly exclude all other colors from your image, use the Eraser Tool to brush away any unwanted hues.
Now you’ve got a perfect image! Here’s the before and after of our sample image created by making a photo B&W except one color in Photoshop:

That’s It!
We hope this article helped you to learn how to make a photo B&W except one color in Photoshop. Now, you can apply this Color Splash technique to any of your vibrant photos.

