How To
How to Zoom In Cricut Design Space
Jul
In this tutorial, we’ll explore the zoom feature in Design Space, which is a powerful tool for getting a closer and more detailed view of your projects. Zooming in and out can help you fine-tune the positioning of elements, make precise adjustments, and ensure every detail is perfect.
Follow along as we guide you through the process of using the zoom feature in Design Space. Whether you’re working on a complex design, adding intricate details, or simply want a closer look at your project, the zoom feature will be your go-to tool.
Let’s dive in and discover how to utilize the zoom feature in Design Space. Enhance your crafting experience with greater control and attention to detail!
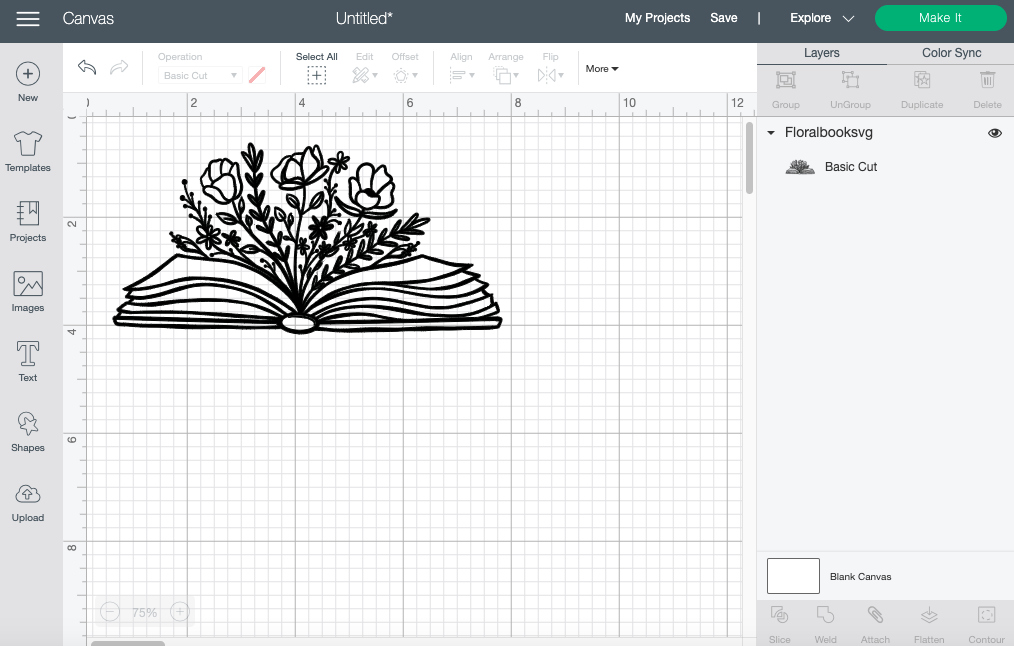
Step 1. Insert Image
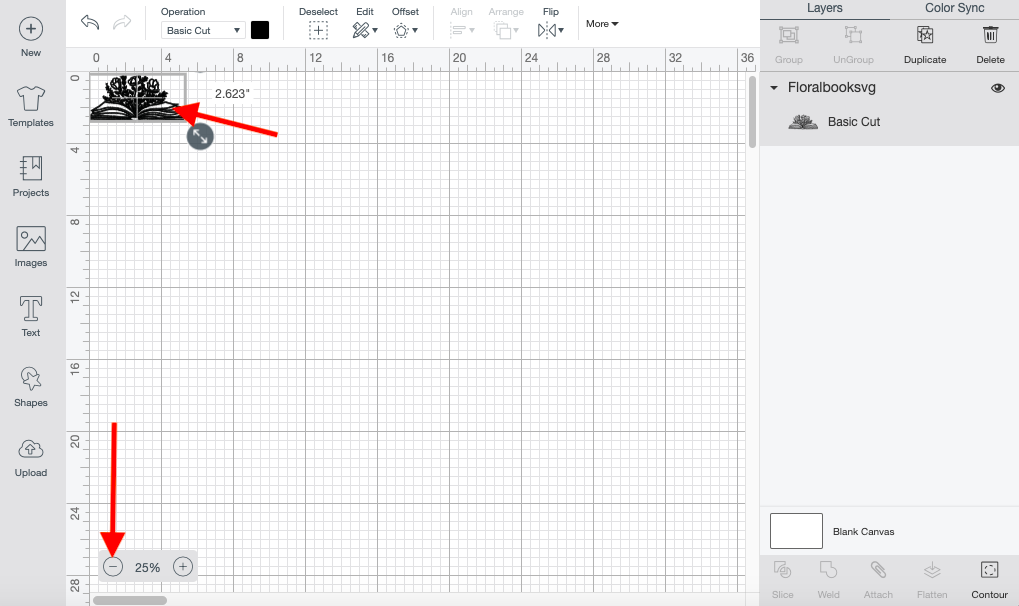
For this tutorial I’ll be uploading and using a floral book svg to demonstrate the zoom feature in Cricut Design Space.
Step 2. Zoom In And Out
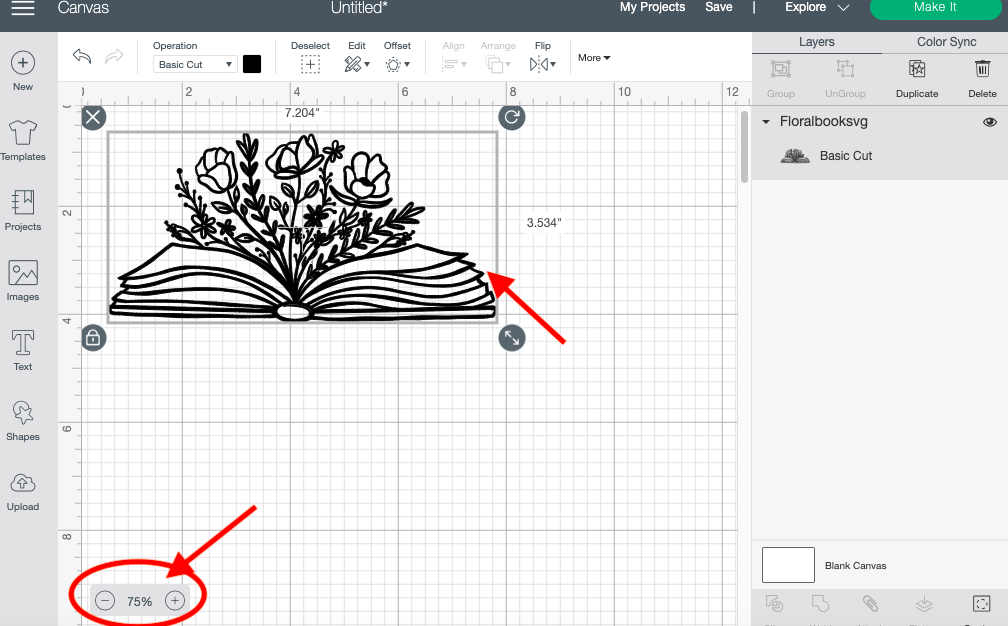
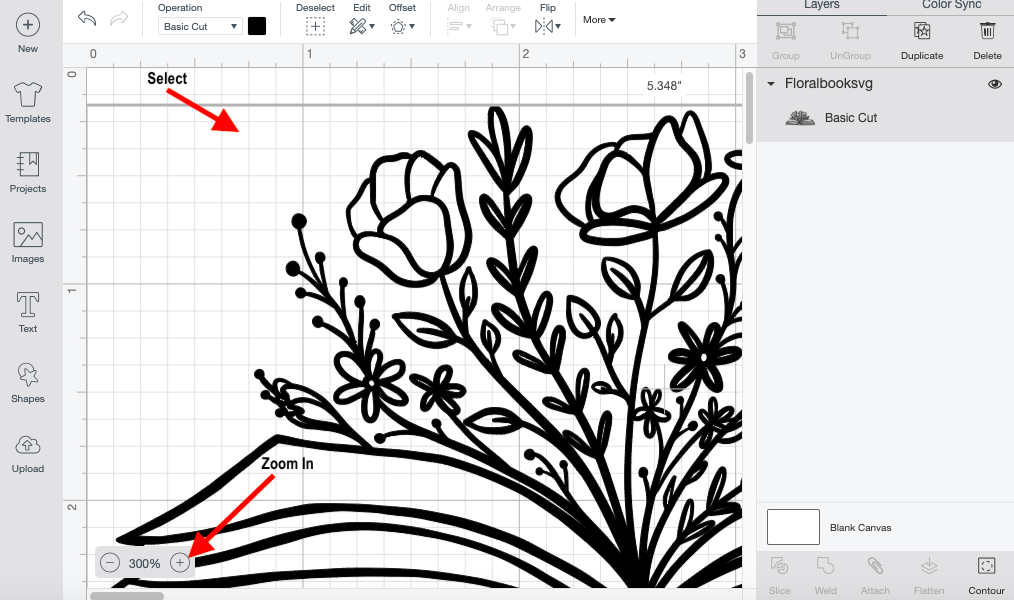
First, select your artwork. Doing this will allow the zoom feature to focus solely on that image. On the bottom left side of your canvas screen, you will see a transparent rectangle box that will allow you to increase and decrease your zoom.
Click the right circle button with a plus symbol on it to zoom in on your image. This will allow you to see small details in your artwork. You can zoom in on your artwork up to 700%.
Click the left button with the minus sign symbol on it to zoom out on your image. This will allow you to see the design as a whole. You can zoom out to 25%, which will make your project really small.
Using the zoom feature is just that easy.